
The best camera is the one you always have with you. What’s the point of an expensive, heavy DSLR camera with all its finesse if it’s just so heavy and unwieldy that you usually leave it at home? And this is exactly where the little Osmo Pocket comes into play. Here’s our review of the tiny 4K/60 FPS all-rounder.
Review: DJI Osmo Pocket
Content:
Page 1: Specs, Accessories, Activation
Page 2: How to use, Mimo App
Page 3: Pro & Cons, Rating
Page 4: Tips, Tricks und Mods
Page 5: Videos
DJI Osmo Pocket
| DJI Osmo Pocket & Accessories: |
|---|
| DJI Osmo Pocket 15% Off - Code: OSMO15 |
| ND Filter Set for Osmo Pocket |
| Osmo Pocket Tripod |
| Mini Tripod for Osmo Pocket |
| Skins / Decals for Osmo Pocket |
DJI has become well-known to many drone pilots, because this company – now worth billions – revolutionized drone technology for home users a few years ago. But it wasn’t just DJI’s drones that became more sophisticated and compact over time. In the last years DJI also focused more and more on camera technology. Today, DJI drones have the best cameras on the market – so what could be more obvious than to offer the same camera technology DJI uses in their drones as independent systems for hobby and action filmmakers?
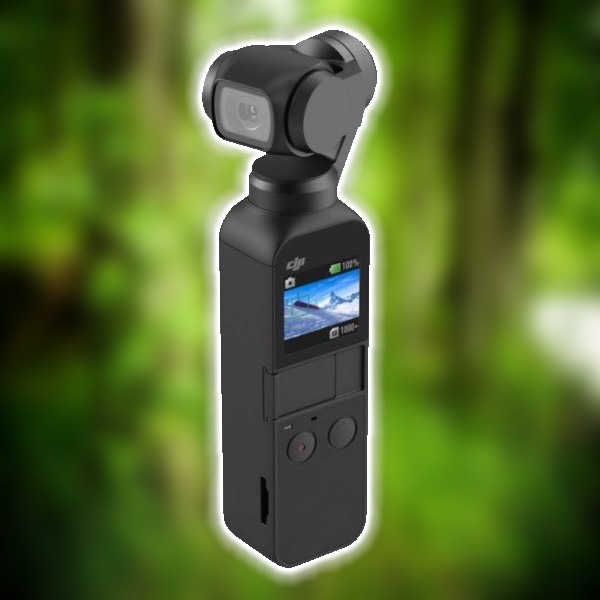
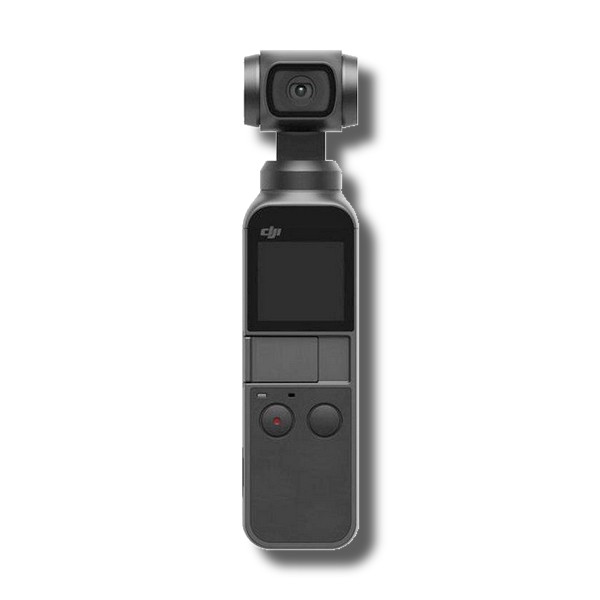
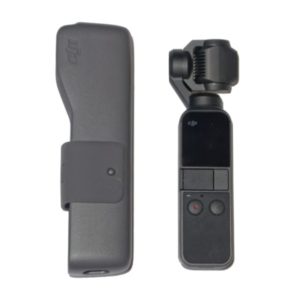
With the Osmo Pocket you hold the complete camera system of a high tech drone in your hand – but without the drone: a simple handle with a tiny high-resolution camera at its upper end, which – just like a drone – is mounted on a joint and can therefore swivelled in all directions. It also mechanically compensates movements, jolts and shaking. And this works so well that the Osmo Pocket can be described as an “Action Cam”, because in almost every situation it can produce absolutely stable, wobble-free videos and smooth camera pans.
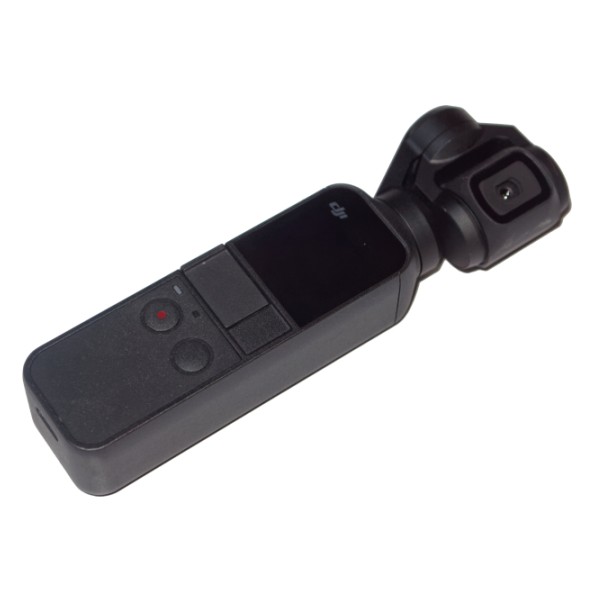
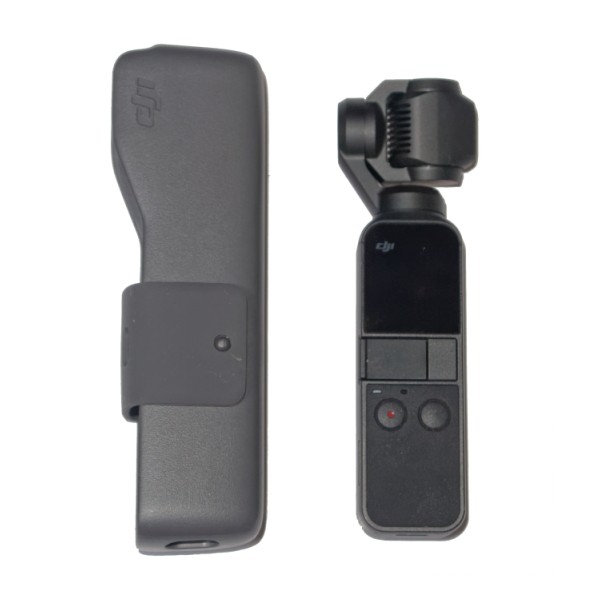
When you hold the pocket in your hand, you really notice how small and compact this technology has become. Hardly bigger than a cigar and only a little over 100 Grams light, the Osmo Pocket offers all the features for which you had to strap on an expensive professional camera system before:
Excellent image quality in 4k with 60 FPS and 100 Mbit/s
Automatic tracking of objects (see below)
Automatic modes, but also “Pro” manual settings available
Absolutely stable, shake-free videos – even when running, biking or skiing
Exclusive Banggood Coupon Codes
▪ For our readers we have received exclusive discount coupon codes from Banggood, with which you can save up to 25% when buying Mavic, Spark, Mini FPV Racers and accessories such as Runcam Split, FrSky XLITE, antennas, etc. You can find these coupons on our coupons page. This section is constantly updated, so check back often.
DJI Osmo Pocket Specs
| Gimbal | Axis: 3-Axis Yaw Axis: -230° to +50° Pitch Axis: -95° to +50° Roll Axis: ±45° |
| Camera | Sensor: 1/2.3″ CMOS FOV: 80 degrees Aperture: f/2.0 Resolution: 12 Megapixels Shutter Speed: 8s – 1/8000s Foto Modes: Single Shot, Panorama, Timelapse, Moving Timelapse, Slow Motion |
| Video | 4K Ultra HD: 3840×2160 24/25/30/48/50/60p Full HD: 1920×1080 24/25/30/48/50/60p Max. Video Bitrate: 100 Mbit/s Videoformats: MP4/MOV (MPEG-4 AVC/H.264) Audio: 48 KHz AAC |
| Foto | Max. Size: 4000×3000 Foto Formats: JPEG/JPEG+DNG |
| Battery | Typ: 875mAh Lipo Battery Runtime: 140 Mins Charging Time: 75 Mins Supports charging while recording |
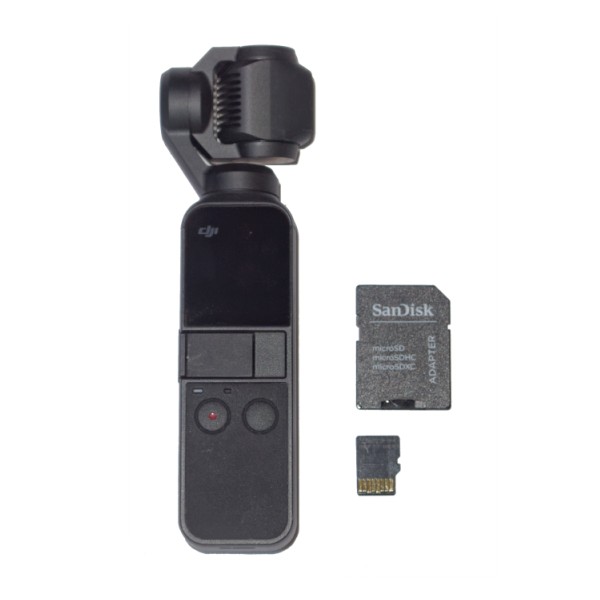
| SD Cards | Supported: FAT32 (=32 GB), exFAT (>64 GB) microSD (max. 256 GB) |
| Size | 121,9 × 36,9 × 28,6 mm |
| Weight | 116g |
Digital VS Mechanical Stabilization
Nothing’s worse than a shaky video. Many “action cams” – and even smartphones – advertise the term “image stabilization” today, but it is usually concealed that this is only a digital stabilization. Each video frame is trimmed at the edges and then rescaled and repositioned to match the other frames. The shake is then more or less gone – but the picture quality suffers noticeably.
Mechanical stabilization, on the other hand, works differently: here the camera sits on a joint that, driven by tiny electric motors, automatically compensates for every shake many times per second. The recorded video is not trimmed or manipulated in any way, since it is the camera itself that is stabilized instead. Mechanical stabilization is therefore preferable to digital stabilization.
A mechanical 3-axis stabilization requires a “Gimbal”, i.e. cameras that sit on an electronically driven joint. And that’s what the small Osmo Pocket is. Since this technology requires a joint and moveable parts, it is obvious that smartphones cannot do this and instead have to “trick” with digital stabilization.
Accessories
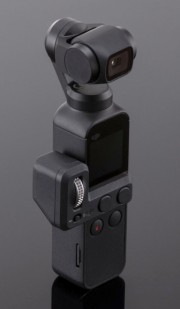
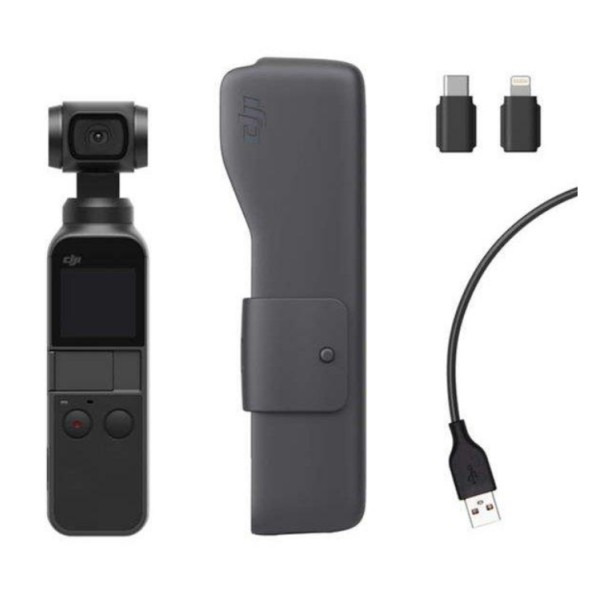
The two included USB adapters are intended for connecting the Osmo Pocket to a smartphone (with either a Lightning or an USB-C port) and are inserted into a rail at the top front of the Osmo. The Osmo Pocket can then be connected to a smartphone and controlled with the free DJI Mimo app.
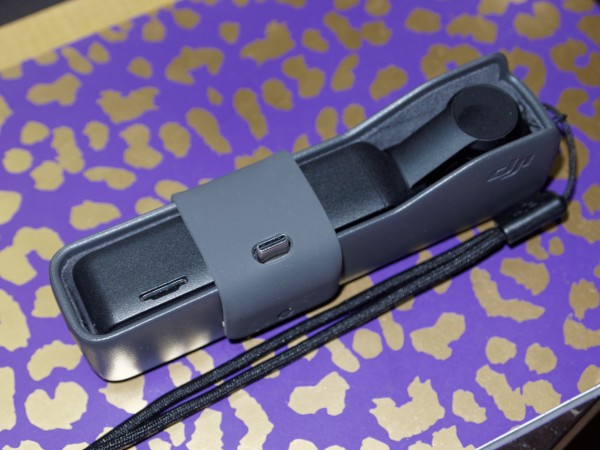
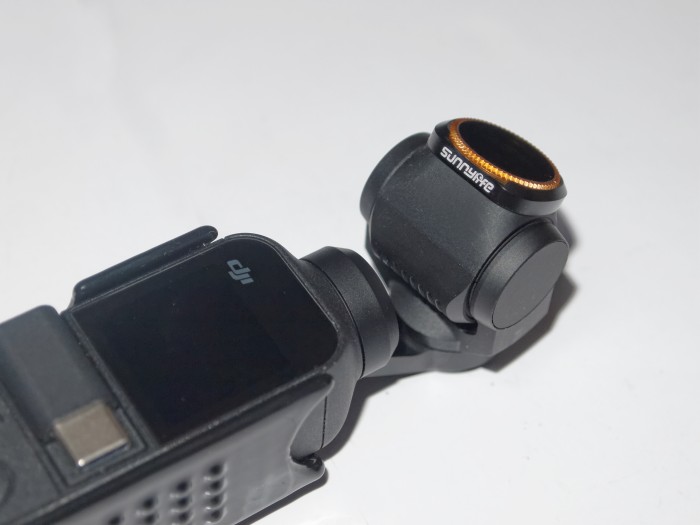
So much for the basic equipment. In the DJI Store there are other accessories for the Pocket available (or announced at the time of writing), such as a control wheel, which can be attached to the Osmo to control the gimbal manually, a selfie- and extension stick, an underwater case, a charging cradle and more. In our opinion only an underwater case makes sense. You don’t really need the joystick, because the gimbal can also be moved via the Osmo Pocket’s touchscreen and even – as only a few people know – easily adjusted by hand. More about this later under “Tips and Tricks”.
Activation
Somewhat annoying, but unfortunately true: you can’t just start filming with the Osmo Pocket because it has to be activated via the Mimo App first. After that activation it can be used normally (with or without App). Only the gods know what DJI was thinking to do so. If you have connected the Osmo Pocket to your smartphone, the DJI Mimo App starts automatically (if already installed) and guides you through the activation process, as well as a firmware update if necessary.
Caution: no Micro USB!
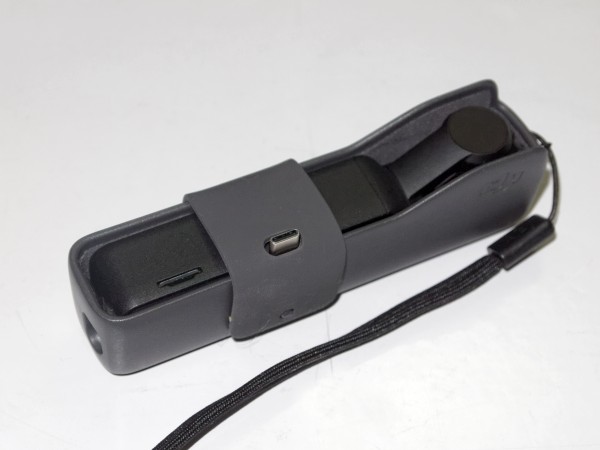
Since the Osmo Pocket must be activated via app before its first use, a smartphone with USB-C Port is required – or a USB-C to Micro-USB OTG adapter if you have a device with Micro USB port only. The adapter for Micro USB is then plugged into the lower USB-C port of the Osmo and connected to the smartphone. This works and will let you activate the Osmo Pocket as long as the used adapter and the smartphone are both OTG-capable. Using the Mimo App is also possible with such an adapter, although DJI employees officially deny that fact (Jeez, do they really know their own product??).
On the next page: Operating the Osmo, manually and via App.
View all articlesArticles in this category
Recent Comments
Leave a Reply
You must be logged in to post a comment.









 SHIRTS & HOODIES


Hallo
Gefällt mir sehr gut der Bericht.
Ich habe jedoch eine Frage.
Welche FPS Einstellung würdest Du empfehlen, bei 4K 60, oder? Und wieviel FPS bei full HD?
Vorab vielen Dank
Dirk, das ist eigentlich eine Frage des persönlichen Geschmacks. Ich persönlich bevorzuge 60 FPS, da man hier das Videomaterial später auch in moderater Zeitlupe laufen lassen, also etwas langsamer abspielen kann, ohne das es zu ruckelig aussieht. Ausserdem ist das Videobild so aufgrund des schnellen Shutters gestochen scharf, so das man auch einzelne Standbilder verwenden kann. Schwenks sind mit 60 FPS schön flüssig und butterweich.
Andere bevorzugen aber 24 FPS. Das wirkt "kino-mässiger" (Kinofilme werden meist in 24 FPS gedreht) und hier ist dann auch die Belichtungsdauer (Shutter) etwas länger, wobei Bewegungen in den einzelnen Frames etwas verschwimmen (Motion Blurring). Eben wie in Kinofilmen auch. Das Motion Blurring kann man durch die Verwendung von ND Filtern sogar noch verstärken, wenn man es möchte. Bei Schwenks sollte man dann aber etwas langsamer rangehen, um Ruckler und verschwommene Objekte zu vermeiden.
Hallo !
Welche Einstellungen würdest du empfehlen , wenn ich im Sommer nach Asien fahre und da nur schöne Aufnahmen machen will.
Danke sehr!
Gruß
Zsolt
In den meisten Fällen ist die Automatik die richtige Wahl – der Pocket macht das schon recht gut. In speziellen Situationen (z.B. bei Nacht) kann man auf manuelle Einstellungen wechseln, sofern man sich mit Belichtungszeiten usw. auskennt.
Wenn dein Zielgerät ein 4K-Monitor ist, empfiehlt es sich, in 4K zu filmen. Wenn dir Full HD aber reicht, filme lieber in 1080p, das schafft deutlich mehr Platz auf der SD-Karte und der Akku reicht um ein Vielfaches länger.
Guten Tag,
was bewirkt die Einstellung Glamour Effekt unter den Fotoeinstellungen?
Danke Gruß
Thorsten
Thorsten, der Glamour-Effekt verschönert Selfies. Die automatische Gesichtserkennung des Pocket lässt Haut und Gesicht dann besser aussehen – vorteilhaft, wenn man sich gerade mal nicht rasiert hat 😊
Hallo !,
wenn ich mit der Mimo App einen Clip erstellen möchte, kann ich da auch Bilder/Videos die mit dem Iphone gemacht worden sind einfügen ?
Danke
Gruß Henrik
Das kann ich dir leider nicht beantworten, da ich dieses Feature nie nutze und zum Editieren meiner Aufnahmen einen "richtigen" Videoeditor vorziehe.
Hier gibt es Infos zum Story Mode (aber leider nichts über das Einfügen eigener Photos):
https://store.dji.com/guides/osmo-pocket-story-mode/
Kann ich meinen DJI- Osmo Pocket über einen Adapter(HDMI) direkt an einen Flat TV anschließen? Welcher Adapter ist kompatibel?
Soweit ich weiss, geht das mom. nur über Bastellösungen wie z.B. den Cosmostreamer:
http://cosmostreamer.com/products/pocketosmo/diy/
Aber wozu sollte das gut sein? Man braucht doch nur ein Tablet oder Phone via USB anschliessen und kann sich dort in der App das Live Bild oder Aufnahmen auf einem grösseren Display ansehen. Unterwegs reicht das doch in der Regel völlig – oder einfach die SD-Karte aus dem Osmo nehmen und in den TV stecken.