
Hardly any Whoop has such a cult status as Happymodel’s Mobula 7, which has become one of the most popular Tiny Whoops. Surely this is also because the Mobula 7 comes in a complete bundle including charging station, lipos and spare props. We have put the small racing mosquito through its paces.
| Happymodel Mobula 7 | |
|---|---|
| Mobula 7 HD Version 2 | Coupon: GBAVI52010 |
| Mobula 7 1S-2S Complete Box | Coupon: GBAVI52010 |
Happymodel Mobula 7 Whoop
| Happymodel Mobula 7 75mm Crazybee F3 Pro OSD 2S: | |
|---|---|
| Flight Controller: | Crazybee F3 Pro |
| MCU: | STM32F303CCT6 |
| OSD: | Betaflight OSD |
| Buzzer: | Ja |
| Receiver Types: | FrSky / FlySky / DSMX |
| ESC: | BLHeli_S 5A 4-in-1 1-2S |
| Camera: | 700TVL 120° Camera |
| VTX: | 5.8G 40CH 25mW |
| Motors: | SE0802 16000KV |
| Props: | 40mm 3 – blade Propeller |
| Frame: | 75mm |
| Weight: | 29g |
| Board Size: | 28.5mm x 28.5mm |
We ordered the Mobula 7 at Gearbest.com and it arrived after about 3 weeks in perfect condition and, as usual, without any customs. The Mobula is currently one of the most popular Whoops, which is surely due to the fact that it comes in a low priced bundle that also includes a 6-way charger, four high-voltage lipos, receiver of your choice and a set of spare propellers. With a price at about 70 EUR, this is a nice bargain compared to the current prices for Whoops and mini FPV racers that have risen quite a bit since last year.
The Bundle
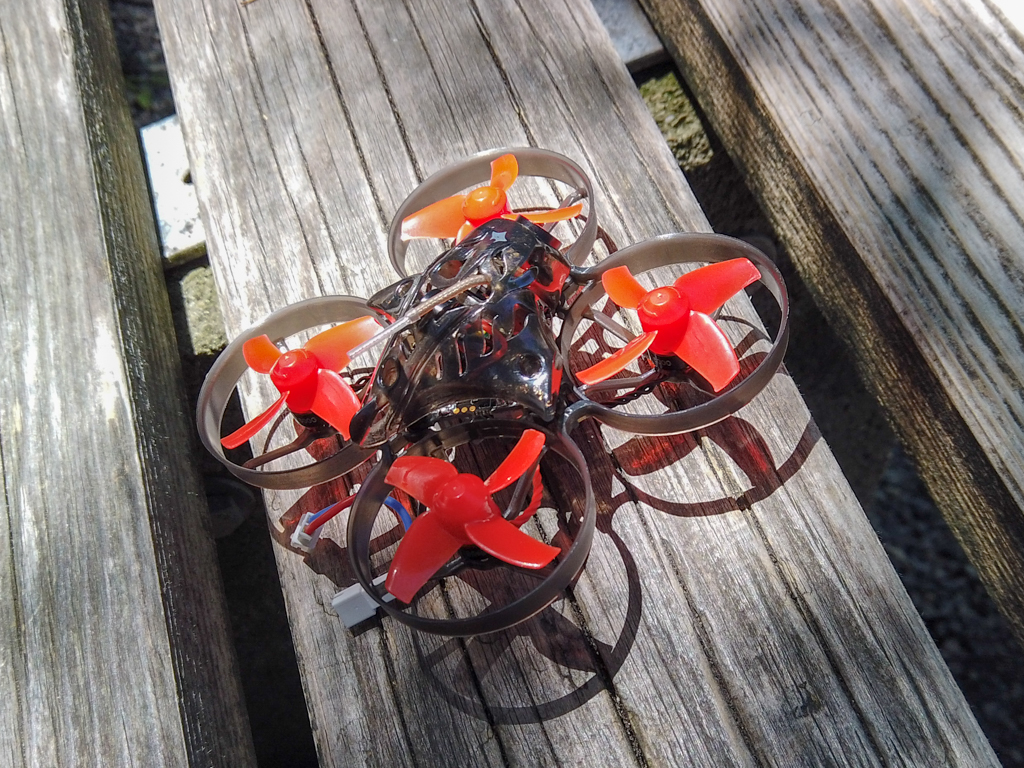
The Mobula 7 is an honest Whoop: it comes without HD camera and other bells and whistles, which hasn’t lost much with a Whoop. There’s also an HD version of the Mobula, but everyone has to decide for himself if it makes sense to have an HD cam mounted on a Whoop.
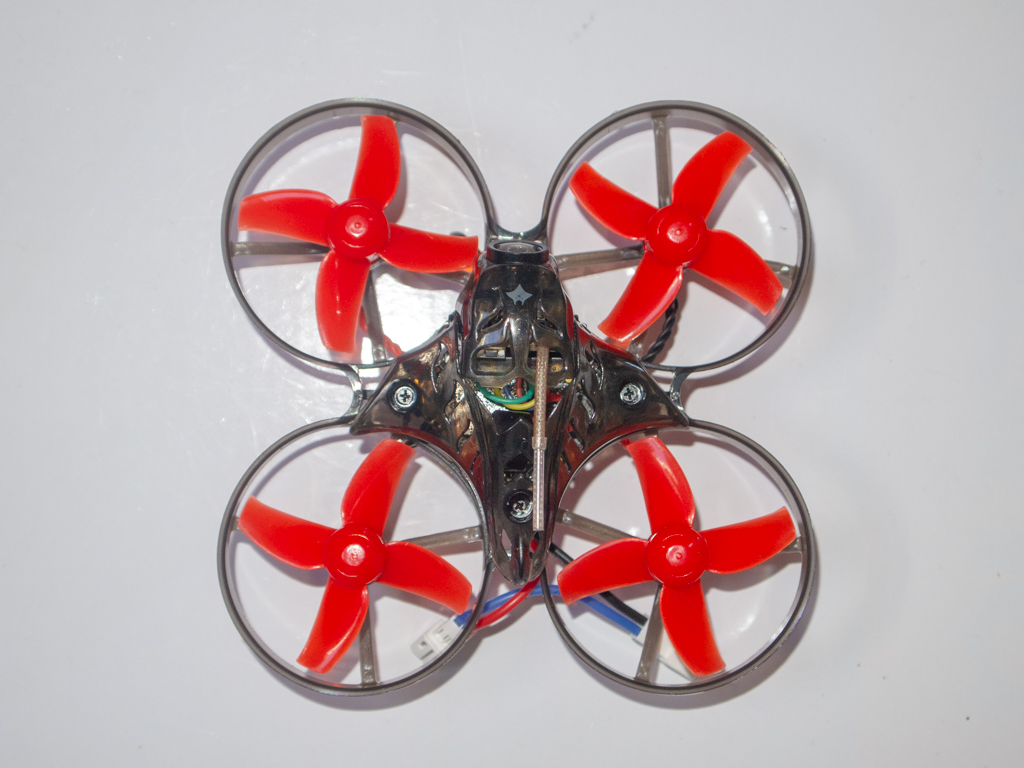
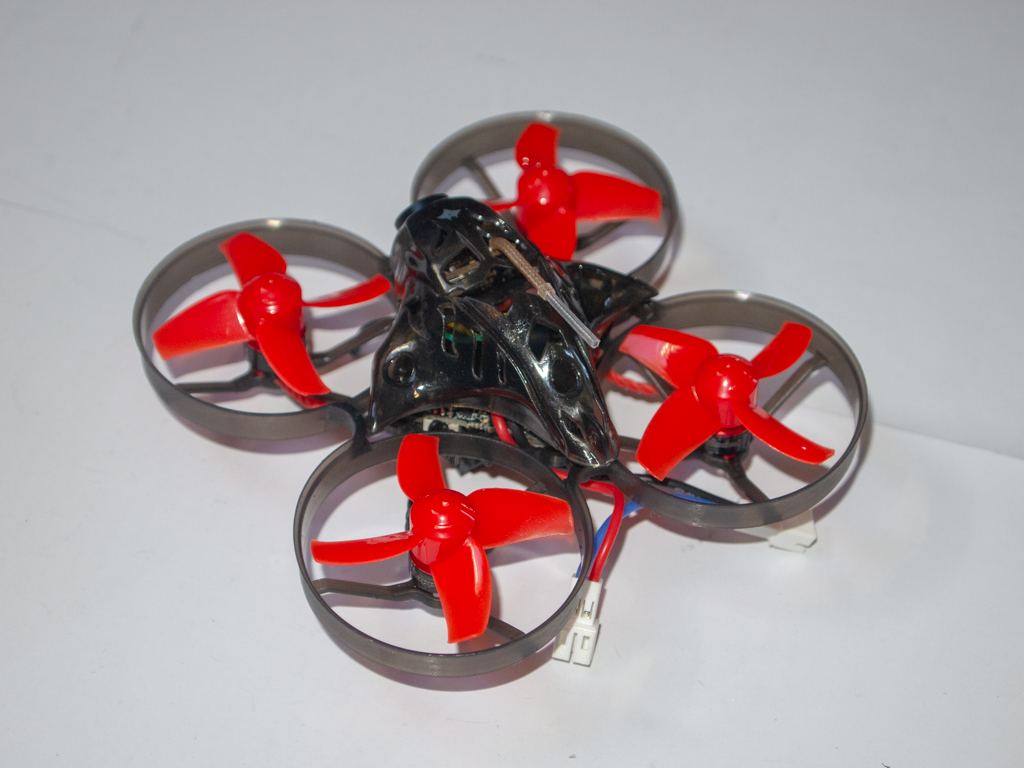
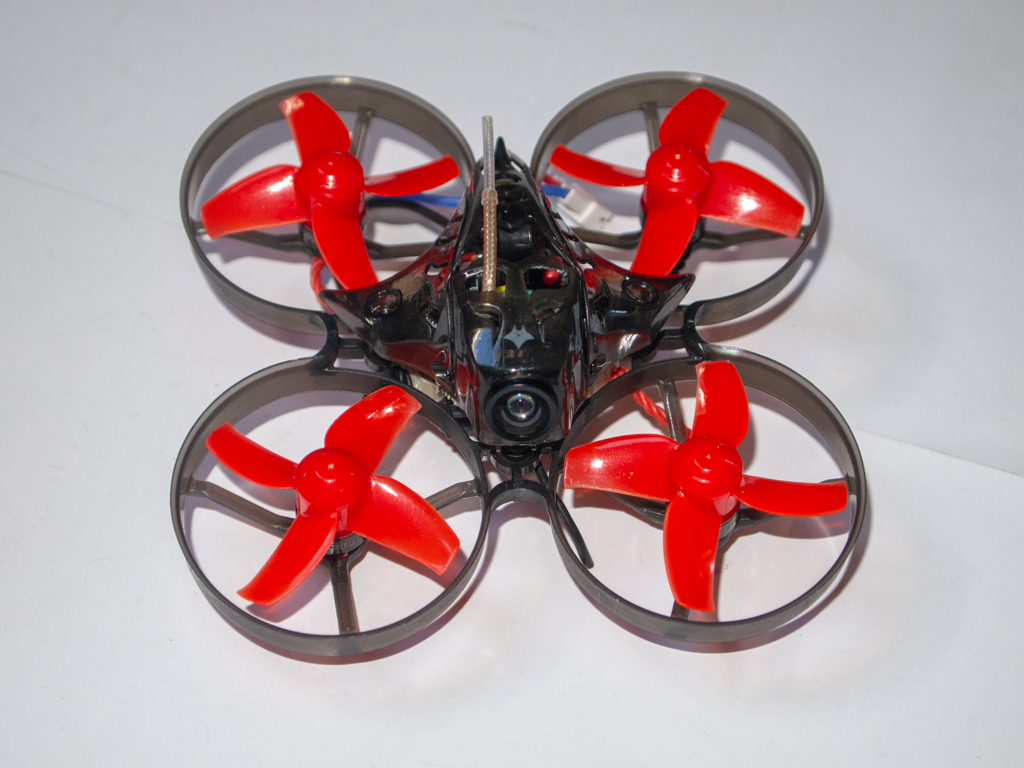
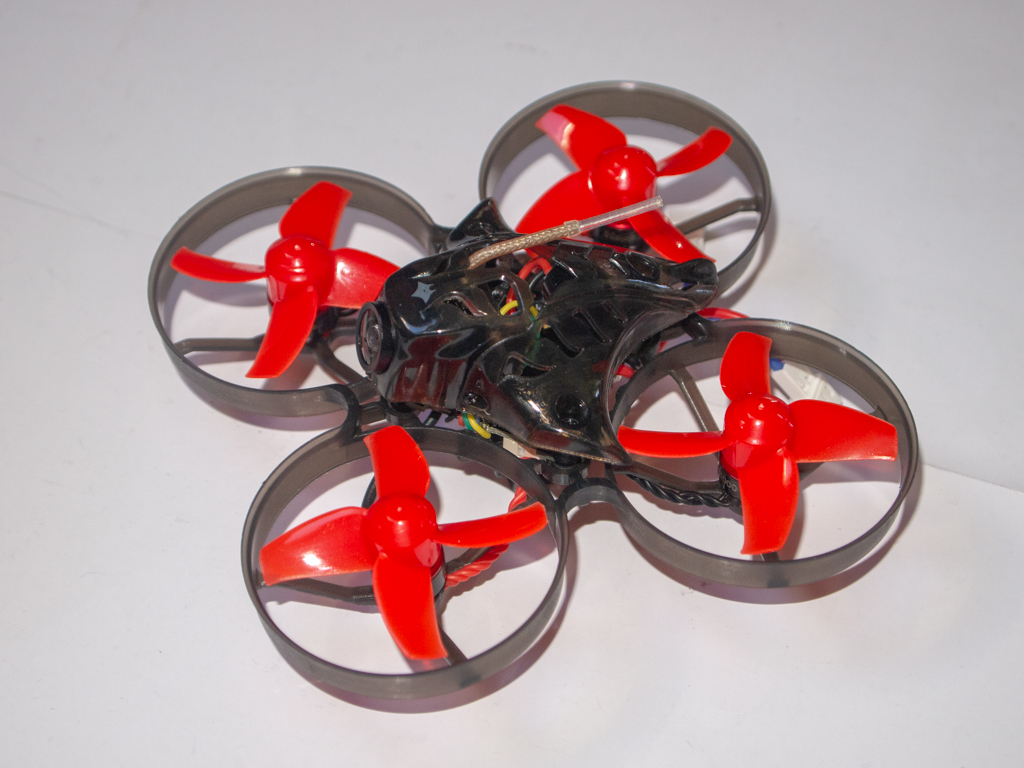
The construction of the Racer is quite simple and there are actually no superfluous parts. The motors are plugged in (not soldered) and can be exchanged quickly and without expenditure. The hood is fastened with four screws and also quickly removed. As for most popular Whoops there are already all possible (and impossible) spare parts available for the Mobula 7 for 3d-printing on Thingiverse.
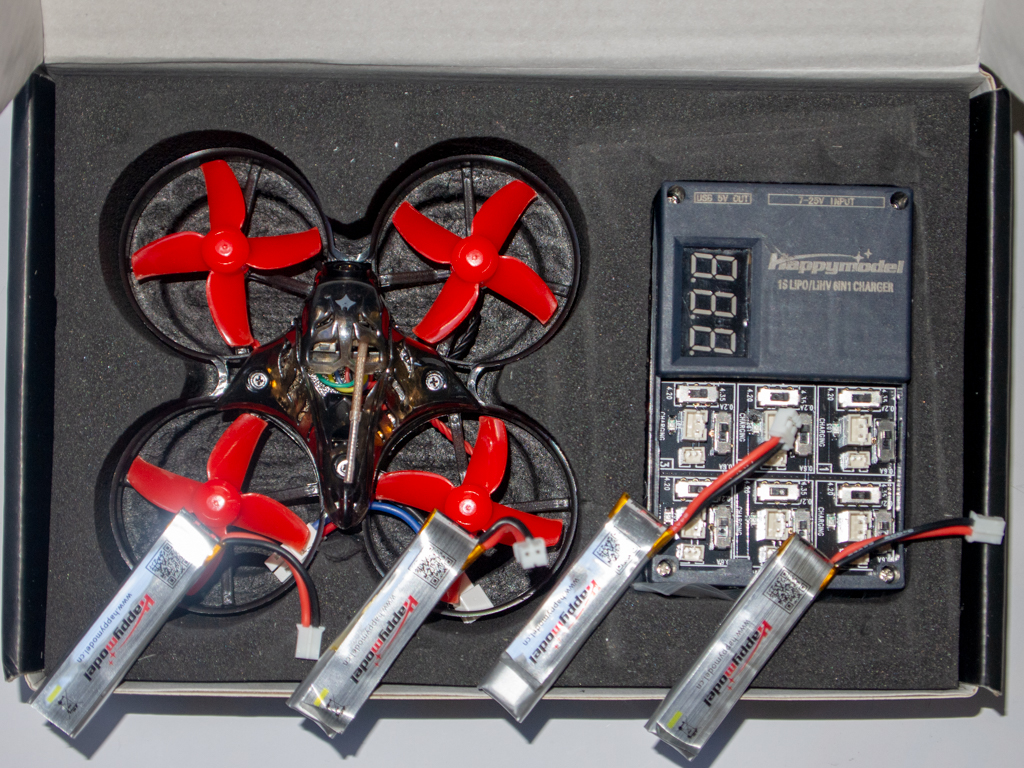
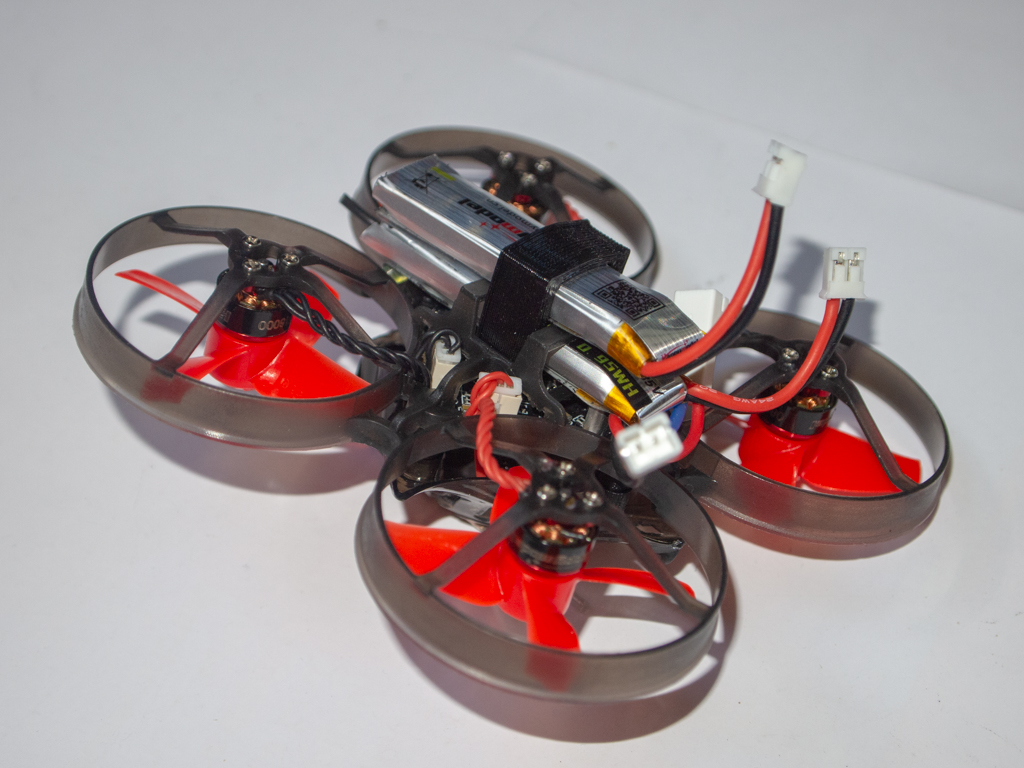
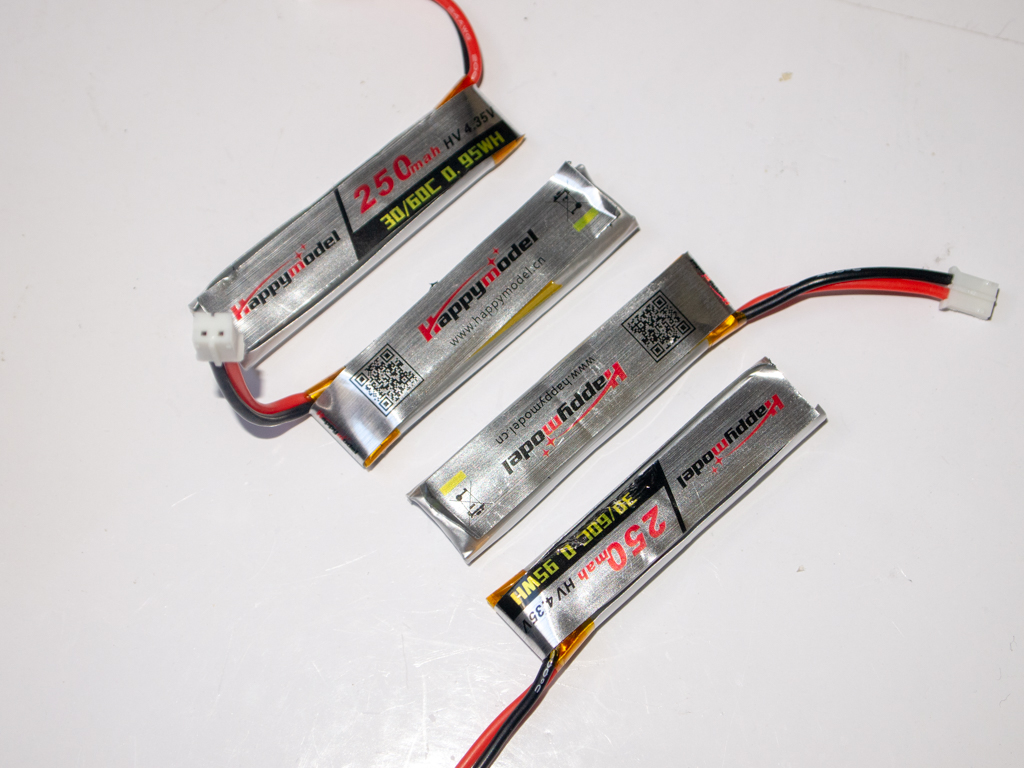
The Mobula 7 comes with four single 1S 4.35V 250mah high-voltage lipos and can be operated with both, 1S or 2S (two batteries simultaneously). The operation with 1S is advisable for indoor, for outdoor areas (garden, meadow etc.) 2S are recommendable since this provides more power and wind-resistance.
The package also includes a 6-in-1 charger, a complete set of spare propellers, a mini-screwdriver, a prop-removal tool, as well as an illustrated manual and a set of stickers.
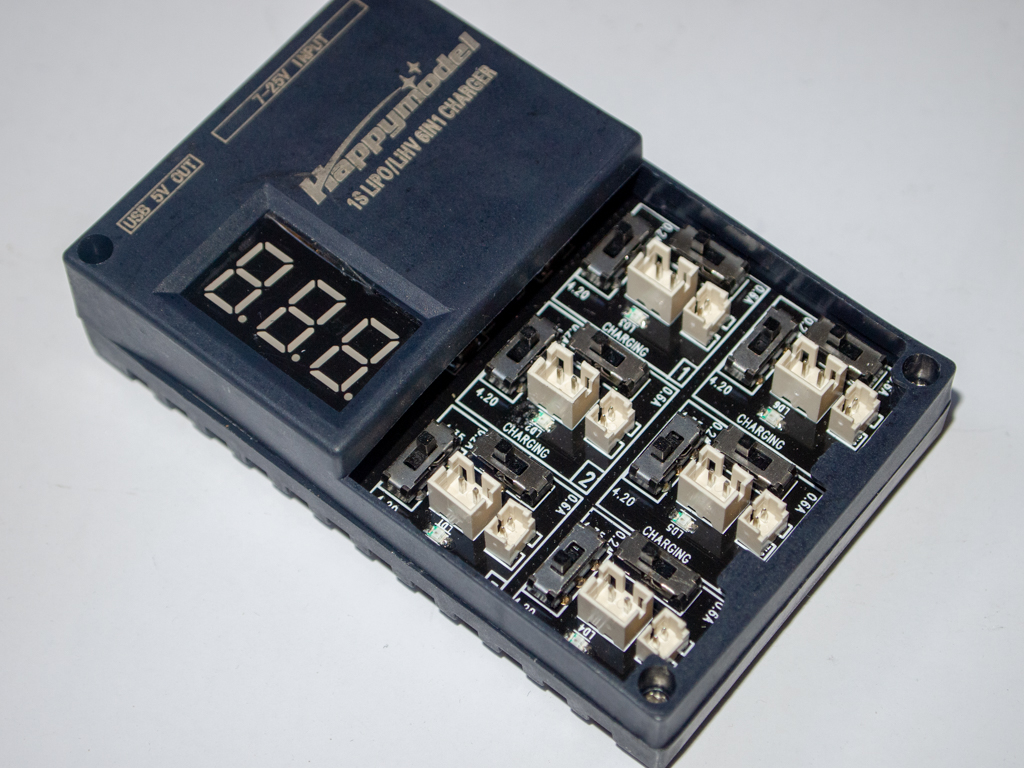
The 6-in-1 Charger
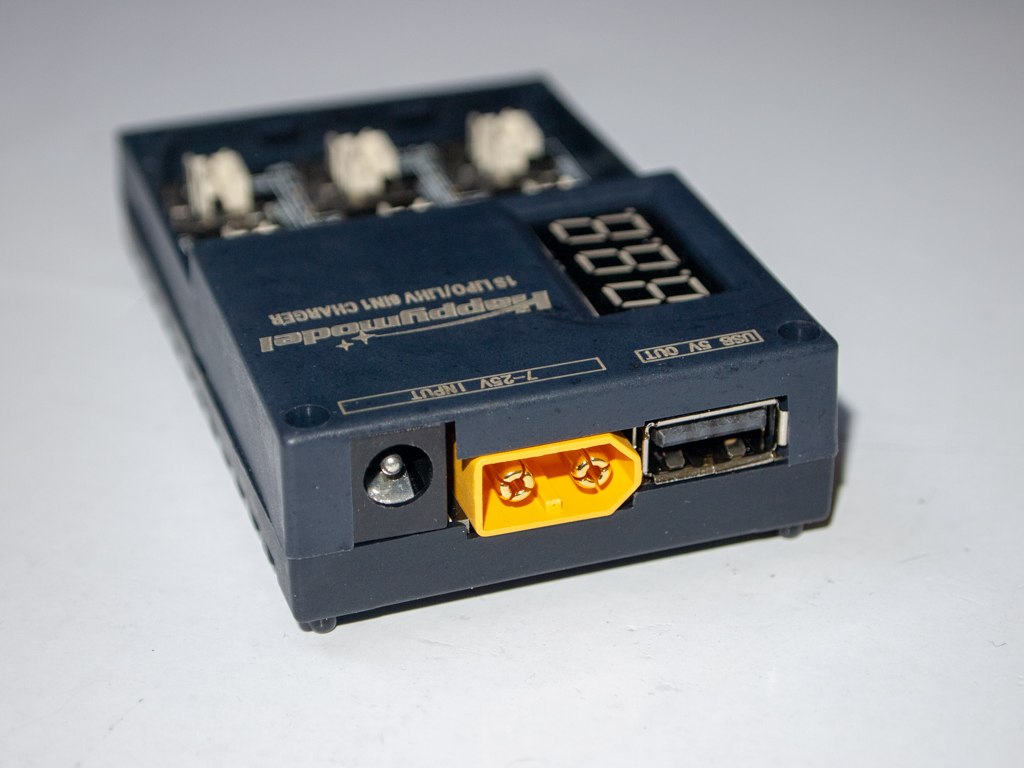
The Mobula 7 comes with 30/60C high-voltage (HV) lipos, which can be charged up to 4.35 volts instead of the usual 4.2 volts. And this is exactly what the included charger does, in which you can charge up to six of these lipos at the same time.
As spartan as the charger looks at first glance, so many functions are available: there are six identical charging bays for six lipos that can be charged at the same time. The charging bays are numbered from 1 to 6 and should also be used in this order. In each of the charging bays there are two slide switches: one adjusts the charging voltage (either 0.2A or 0.6A), the other adjusts whether the respective Lipo should be charged up to 4.2 Volt or 4.35 Volt for high-voltage lipos.
In our case we insert the four included Lipos into the charging bays 1 to 4, switch the respective charging voltage to 0.2A and the switch for the final voltage to 4.35 Volt, as these are high-voltage (HV) batteries.
The charger can handle an input voltage of 7-25 Volt and has a barrel socket for a power supply, as well as an XT60 socket. So you can use the charger with a power supply, but also plug in a 3S-6S Lipo and charge the Mobula batteries directly on the field. This is very handy. The only drawback (which is absolutely acceptable at the low price of the Mobula) is that no power supply is included for the charger.
The Mobula charger also has a 5V USB output, with which you could conveniently charge your mobile phone – or other USB devices. But this can also make sense to discharge remaining batteries to storage voltage, if needed. So just hang a USB fan or a USB lamp on it, done.
The charger has a bright, clearly visible LED display that shows the current individual voltage of each battery. During the charging process, the individual charging bays flash regularly. Batteries that are fully charged should be removed from the charger.
The Hardware
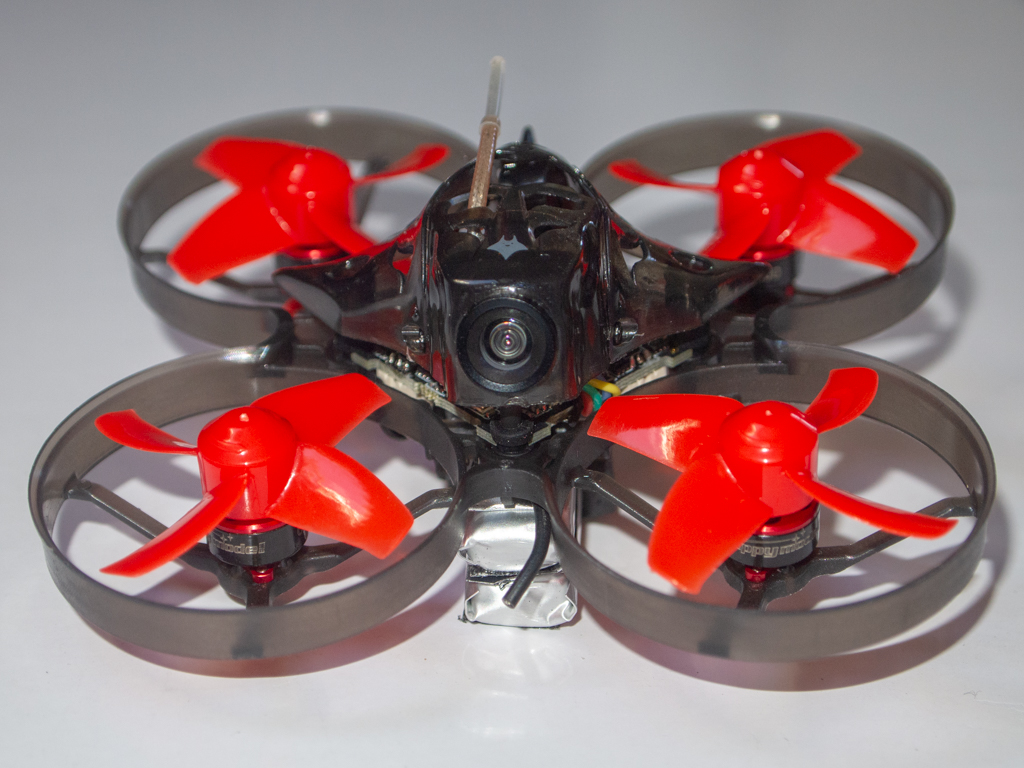
The 700TVL camera of the Mobula 7 offers a view angle of 120 degrees and is even tiltable – not usual for many Whoops. This is achieved by not screwing the camera firmly to the hood, but having its own mount instead. The ESCs are controlled by DShot600 and are operated with 5-6A. During our flights, the occationally drew a current of 7 amps without a whinge. Turtle Mode is supported, by the way.
The power consumption is provided by two JST-PH 2.0 plugs soldered in series, to which one or two lipos can be connected, since the Mobula 7 flies with 1S as well as 2S. The battery mount on the bottom of the Mobula is designed for one battery, but an adapter is included that you simply plug in to use two batteries in parallel. THat’s clever.
If you want to use the Mobula 7 with only one battery, insert a dummy plug into the second, unused battery socket, which is also included. Without this plug, the electric circuit would logically be interrupted with only one battery used. So don’t forget: operation with only one battery requires this small plug, which is included.
By the way, a buzzer is also built in – even that, as ridiculous as it sounds, is unfortunately not a matter of course for most Whoops. The non-EU LBT receiver (if you choose this one) is integrated in the flight controller. Its antenna (actually only a short cable stub) is soldered directly onto the board.
Handling
With 2S, the Mobula flies very precisely, even in small spaces. So it’s no problem to romp around in a playground environment in acro mode or to jet around in a smaller garden, for example. Only the default PIDs could be optimized a little bit for operation with 2S, because a little propwash is noticeable. In 1S mode, the Mobula navigates perfectly through the home, even in the smallest of spaces. As usual with 1S, the Whoop loses a bit of power or height during the flight when the battery gets low, so you have to compensate with a little more throttle then.
The flight time in 2S operation / acro mode, as well as with 1S in angle, is about 3 minutes each, which is normal for a Whoop. The battery warning comes quite early, which is why it is recommended to lower it a little in the Betaflight configurator. All in all, the Mobula flies very well, can be controlled very precisely and is simply fun. If you want to fly in the smallest space, you can tame the rates in Betaflight or set a throttle limit (see next page).
Summary
It’s not surprising that the Mobula 7 is currently one of the most popular Whoops out there – the package with 6-in-1 loader, four lipos, Whoop and accessories is not only available for a very reasonable price – in fact, the Mobula is as good and accurate to fly in a small space as we’ve rarely seen any Whoop before. Playground acrobats and indoor artists get their money’s worth with this Whoop, especially because you can fly this racing mosquito with either 1S or 2S – which is a better choice for a Whoop and in small environments than to be able to choose between 2S / 3S. The latter is more suitable for outdoor use.
A beeper is already built in and there’s not much to do – the Mobula is ready to fly as it arrives. The Betaflight settings can still be optimized a little, if you like, and there are some tips to consider when binding (see next page).
There is currently no better Whoop including accessories for this unbeatable price – the ideal mini FPV racer for every season, whether outdoors or indoors.
On the next page: Binding procedure, Betaflight settings.
Happymodel Mobula 7 Mobula 7 HD Version 2 Coupon: GBAVI52010 Mobula 7 1S-2S Complete Box Coupon: GBAVI52010
Happymodel Mobula 7 Mobula 7 HD Version 2 Coupon: GBAVI52010 Mobula 7 1S-2S Complete Box Coupon: GBAVI52010 Binding
In order to bind the FrSky receiver of our Mobula 7 to the X-LITE a little preparation was necessary: by default “SPI Bus Receiver Provider” in Betaflight is set to FrSky_X. So the Mobula 7 should be able to bind in D16 mode of the X-LITE or Taranis – which didn’t work for us.Only after we had changed this setting to FrSky_D we could bind the Mobula – but in D8 mode. So we recommend to try both: FrSky_X in Betaflight and bind in D16 mode (WITHOUT telemetry) or FrSky_D and bind in D8 mode.
Binding procedure: If the receiver is not yet bound, the Mobula flashes with a white LED. To bind the Mobula, simply plug it into your computer via USB or power the receiver by attaching one or two batteries to the Whoop. Now press the bind button, which is easy to reach with a screwdriver or toothpick, even without removing the hood. The white LED stops flashing and lights up permanently. This indicates that the Whoop is ready to bind now.
Now activate the bind function in your TX. After a few seconds the Mobula starts flashing again. This indicates that the binding process was successful.Bind button
If this doesn’t work, please open the Betaflight Configurator and check if you have entered FrSky_X or FrSky_D under “SPI Bus Receiver Provider”. Depending on what you use there, you have to bind the Mobula in D16 or D8 mode (in D16 mode telemetry should NOT be activated). One of these combinations should work.
“Telemetry lost! Telemetry found!”
If you open the Betaflight Configurator while your Mobula is connected to your TX you might experience a strange behaviour: as soon as the Mobula is connected to Betaflight, the receiver logs on, off, on again etc. at intervals of one or two seconds, which is acknowledged by the TX with very annoying voice output.
The exact reason for this has not yet been fully clarified and it seems that it cannot be fixed yet. This could be a Betaflight bug, but also a problem with the Crazybee flight controller. In any case, there seems to be a conflict between those two. Don’t let this intimidate you – the Whoop can still be configured as usual, even if it’s a bit more annoying than usual. It’s a good idea to set the TX to a low volume and stubbornly make all Betaflight settings neccessary.
The Mobula 7 is already preconfigured. Only the setting for the “SPI Bus Receiver Provider” may have to be changed (see above). In our case it was still necessary to change the channel map (the input field on the receiver side in Betaflight, where e.g. “TAER1234” is written). This order must of course match the order of the channels as you have set them in your TX’ profile.
Then you can adjust the rates to your taste, or just leave them as they are. Maybe configure the OSD as you are used to, check the stick modes and that’s it.
Tame Mobula 7: Set a Throttle Limit
If you want to fly the Mobula 7 indoors, you will quickly notice that it is too agile with 2S. Here it is recommended to fly it with only one battery or to set a throttle limit. The following video explains how this works:
Happymodel Mobula 7 Mobula 7 HD Version 2 Coupon: GBAVI52010 Mobula 7 1S-2S Complete Box Coupon: GBAVI52010 You think this article raised lots of questions? Or you're interested into this topic and would like to know more about? Want to express your personal oppinion? Then feel free to drop a comment here.
View PagedView all articles
Articles in this category





 Author: Mike vom Mars
 SHIRTS & HOODIES


