
Exclusive Banggood Coupon Codes
▪ For our readers we have received exclusive discount coupon codes from Banggood, with which you can save up to 25% when buying Mavic, Spark, Mini FPV Racers and accessories such as Runcam Split, FrSky XLITE, antennas, etc. You can find these coupons on our coupons page. This section is constantly updated, so check back often.
KingKong had already done a lot right with the iconic 90GT and brought one of the best-selling Micro FPV Racers onto the market. Now there’s a successor: the “Fly Egg”, which is available in a 100mm variant as well as a larger 130mm variant with stronger engines.
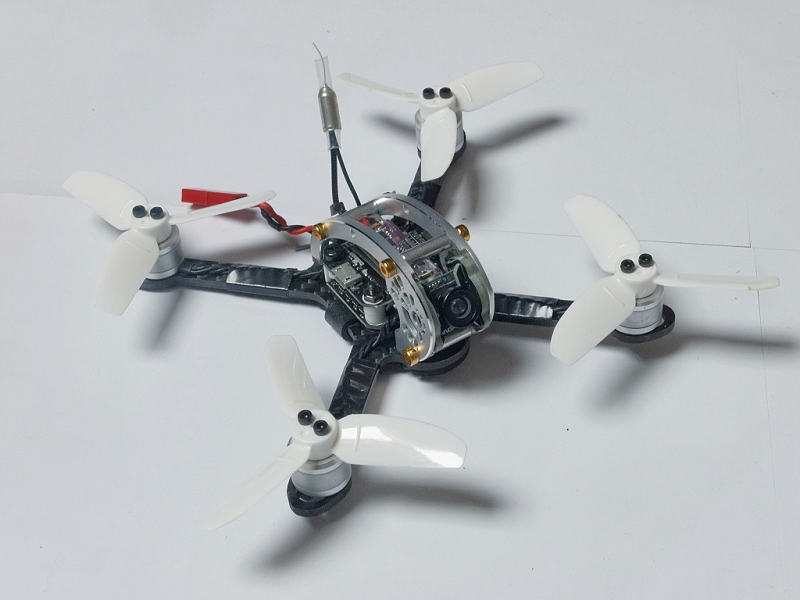
KingKong 130 “Fly Egg” Mini FPV Racer
(German) KingKong Fly Egg 130
| Features |
|---|
| 2-3S GT1105-7000KV Motors |
| 2-3S BLheli_S 10A 4-in-1 ESC (MultiShot, OneShot, DShot) |
| 130mm Carbon Fiber Frame |
| 7075 Aluminum Protection Frames |
| Piko BLX F3 STM32 Flight Controller |
| 16 Channel 25mW / 100mW Video Transmitter |
| 800TVL HD Camera (150° FOV) |
| Either with FrSky, DSM2, FASST Receiver |
| Weight: ~78g |
| Comes with transportation box |
| Pre-flashed Betaflight |
| Useful Links |
|---|
| KingKong Fly Egg 130 at Banggood |
| 10 Paar KingKong Fly Egg 130 Spare Propellers |
| 1000TVL Micro FPV Camera |
The KingKong Fly Egg comes in two versions: a smaller 100mm version and a 130mm version with stronger engines. Since we already have an (almost) perfect Micro Racer on the shelf with the KingKong 90GT, we decided to test the Fly Egg 130. We were curious to see how the stronger motors do and whether the 130 Fly Egg is as agile and lively as the small 90GT.
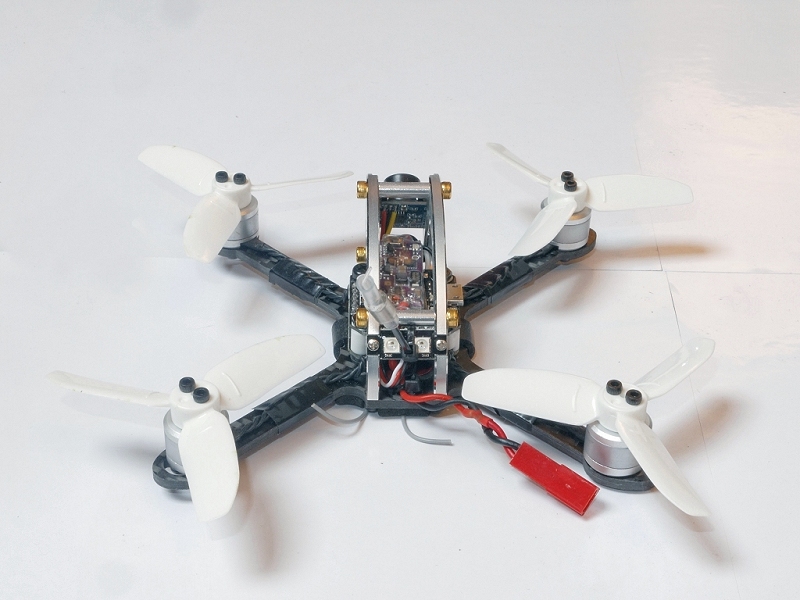
The KingKong 90GT was already a big hit and one of the fastest and most agile Micro FPV Racers we’ve seen so far. Almost everything is right with the 90GT. Almost! Unfortunately, he also had some drawbacks. The 90GT comes without a pre-installed buzzer. Also an LED strip had to be installed first. KingKong has now fixed these two shortcomings with the Fly Egg, it comes with both, a buzzer (which can be triggered by TX to find the quad more easily after a crash) as well as a mini LED strip consisting of two very bright LEDs, whose color and flashing mode can be configured as usual in Betaflight.
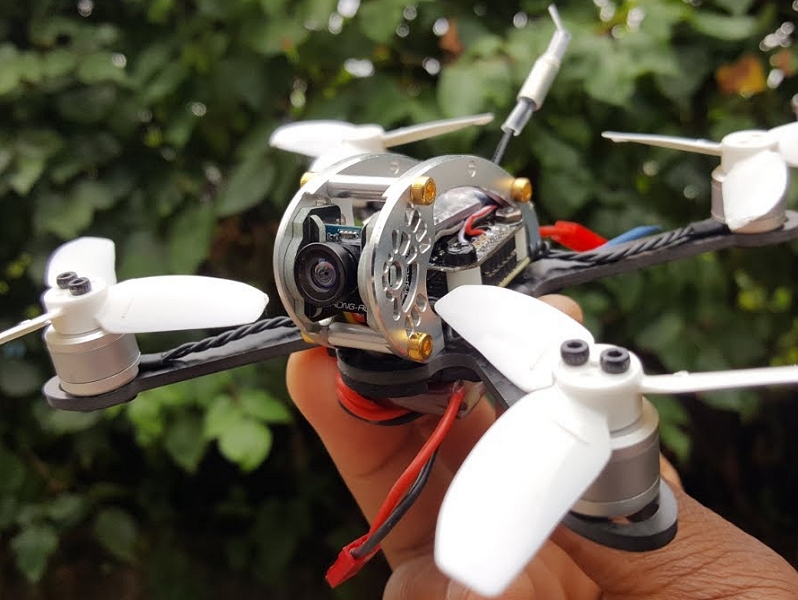
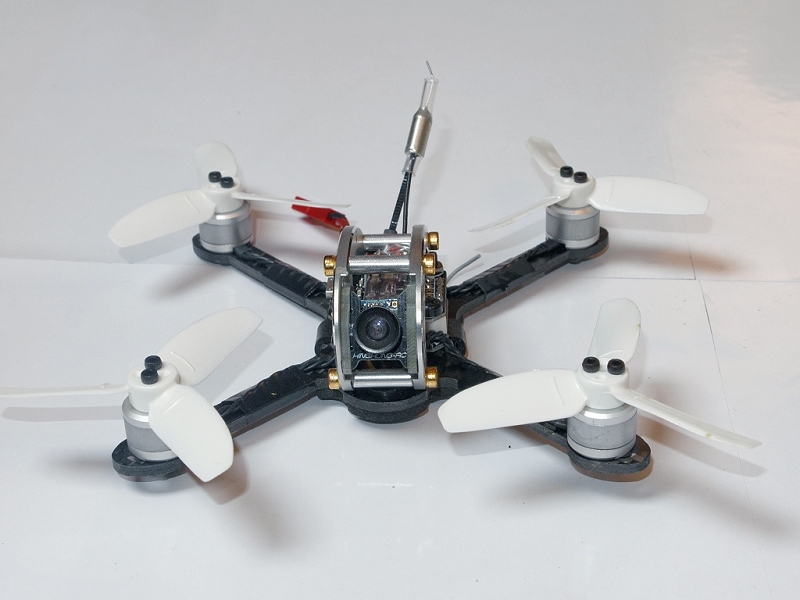
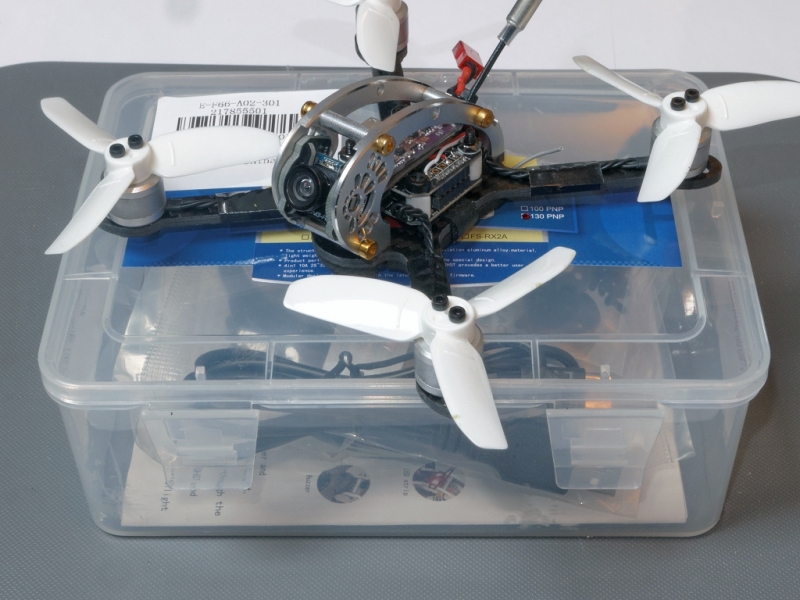
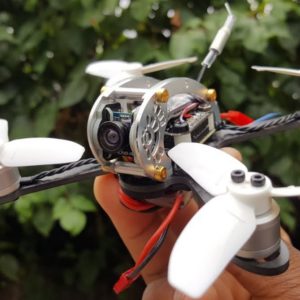
As with the 90GT, the Fly Egg gives a very solid and robust impression. Nothing feels “cheap” here. A special highlight, not only visually, are the two aluminium hoops that protect the electronics, the video transmitter and the camera. This not only looks noble, but also promises good durability.
Camera
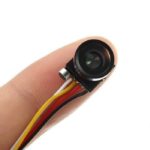
The included 800 TVL camera doesn’t bring anything new: in sunlight it performs average and delivers a quite usable picture, in bright / dark changes, cloudy sky or backlight it performs more or less poor. As with the 90GT, a very good replacement for the KingKong cam is the 1000TVL from Banggood which is available for ~10 EUR, sized only 8x8mm and performs very well.
The viewing angle of the Fly Egg Cam is about 150 degrees and thus more than with the 90GT. The larger viewing angle makes it easier to see the ground when landing.
The camera angle is adjustable (four or five different levels are available), but unfortunately both aluminium brackets have to be unscrewed every time. It’s annoying! If you are used to fly with a fixed camera angle, you only have to make this effort once. But if you like to vary the camera angle from flight to flight, you’ll be really annoyed sooner or later.
The video transmitter supports only 16 channels, but four from each band. So there are channels to suit every need. Changing the video channel is very easy: just press a small button on the video transmitter. The transmitter’s LED then flashes in a color code (e. g. green-blue). The Fly Egg comes with a small table showing the color code for each channel (MHz).
The VTX transmits with 100mW by default. To set it down to 25mW (if this is desired at all), you would have to solder two pins together. Unfortunately, this is not possible via a dip switch.
Despite the simple pigtail antenna, we had good video reception throughout. The 100mW is therefore quite noticeable.
Receiver
We ordered the Fly Egg with DSM2 receiver. As with the 90GT, it was possible to bind it to the Devo 10 within seconds and without any problems, as long as “Spektrum1024” is set in BetaFlight. It is also gratifying that the receiver has two antennas.
Flying Characteristics
The standard PIDs of the Fly Egg are unfortunately not very well adjusted, here it is better to look for alternative PIDs or adjust them yourself. But once you have found the right PID setting, the Fly Egg flies phenomenal and very stable! Just like the 90GT, flips and rolls are a breeze. Thanks to its low weight, the Fly Egg has an ingenious hang time: if you take the throttle off at high altitudes, it almost looks as if it is stands weightlessly in the air. Nevertheless, we were a bit disappointed, because we had hoped for more power from the stronger motors of the 130 version. Despite its smaller size, the 90GT seems to be much faster than its predecessor.
The Fly Egg is not a perfect racer, it’s not fast enough to do so. However, it flies so well and stable that it is an ideal parkflyer, with which you can fly around where you can also meet passers-by. Already during the first flights we noticed how quiet the Fly Egg with its propellers is! It’s like flying in stealth mode! This makes it again a perfect parkflyer, because the noise level is so low and unobtrusive that no one feels disturbed. So anyone who likes to fly among people is perfectly served with the Fly Egg.
A quick PID adjustment brought up the following settings, with which the Fly Egg already flies quite well. Now and then you still have some propwash, but this should be completely eradicated with a change to Betaflight 3.2 and the use of the new “Dynamic Filter” features:
| P | I | D | |
| Roll | 30 | 50 | 22 |
| Pitch | 25 | 40 | 20 |
| Yaw | 50 | 45 | – |
Accessories
Like the 90GT, the Fly Egg comes in a great plastic transport box. A set of propeller protectors (including screws), some spare rubber sleeves for attaching the battery and a manual are included as accessories as well. Also included is a 350mAh 2S lipo battery, wich is therefore quite weak and should be replaced by a 600-850mAh lipo to get a better flight time.
Speaking of batteries: In our version, the Fly Egg came with a balancer plug, which plugs in the battery. This is of course an advantage, because this guarantees that every lipo can be connected. However, you should replace it with a JST connector sooner or later, because the experience has shown that balancer connectors like to loosen the pins, so the quad could fall out of the sky at any time! We have therefore soldered a JST plug to the Fly Egg. Newer versions of the Fly Egg now come with JST connectors, as we heard. I can’t say whether that’s true or not.
Summary
This KingKong finally comes with a pre-installed buzzer and even LEDs. The camera is still moderately good, but the video transmitter now transmits with 100mW, which is a significant improvement compared to the 25mW of the 90GT. The aluminium brackets are a visual highlight and seem to be very durable, but they are annoying when you have to unscrew them to adjust the camera angle. The flight characteristics are absolutely great, the Fly Egg can be flown precisely and great, but unfortunately it doesn’t reach the same speed as its predecessor 90GT.
| Useful Links |
|---|
| KingKong Fly Egg 130 at Banggood |
| 10 Paar KingKong Fly Egg 130 Spare Propellers |
| 1000TVL Micro FPV Camera |
Recent Comments
Leave a Reply
You must be logged in to post a comment.






 SHIRTS & HOODIES



hi.. can you tell me the LED Strip pinout?
Here is a wiring diagram of the board: http://bit.ly/2zDCaAL
See the pin labeled "LED"? This is where the signal wire of your LED strip goes to. The 5V and GND wire of the LED strip can be connected to any of the 5V and GND pins on the board.